[QUICKSTART] λ Deploy your bot to a "serverless" AWS Lambda Function
This example uses the Serverless Stack (SST) toolchain for provisioning, deployment of infrastructure and makes it possible to express your infrastructure needs as spec/code
SpeedyBot has been built with serverless in mind from the beginning-- serverless infrastructure is "asleep" until you need it (ie when a user sends a message, card, or file). S
Start-up times are generally fast enough to interact with the chat client without timing out. Check out the Worker sample for a fast-loading V8 Isolate without the overhead of a container
1) Fetch repo & install dependencies
git clone https://github.com/valgaze/speedybot
cd speedybot
cd examples/lambda
npm install
Note: The actual code of the agent located in packages/functions/src/settings/bot.ts and lamba code is available packages/functions/src/lambda.ts
2) Set your bot access token
If you have an existing bot, get its token here: https://developer.webex.com/my-apps
If you don't have a bot, create one and save the token from here: https://developer.webex.com/my-apps/new/bot
Create a
.envfile like .env.example
WEBHOOK_SECRET=__REPLACE__ME__
BOT_TOKEN=__REPLACE__ME__
Note: WEBHOOK_SECRET is up to you, incoming requests will be hashed with it, if the hash is present on the incoming request & WEBHOOK_SECRET is present, the lambda will attempt to validate the request. If it fails to match the request will be rejected
Note: The .env file musts never be aded to source control (and there are may ways to supply sensitive data to lambda functions with SST)
3) Set up your AWS credentials on your machine
Note: You'll need an AWS account that has authorization/billing to create lambda functions
3a. Setup IAM here: https://sst.dev/chapters/create-an-iam-user.html
3b. Setup AWS CLI: https://sst.dev/chapters/configure-the-aws-cli.html
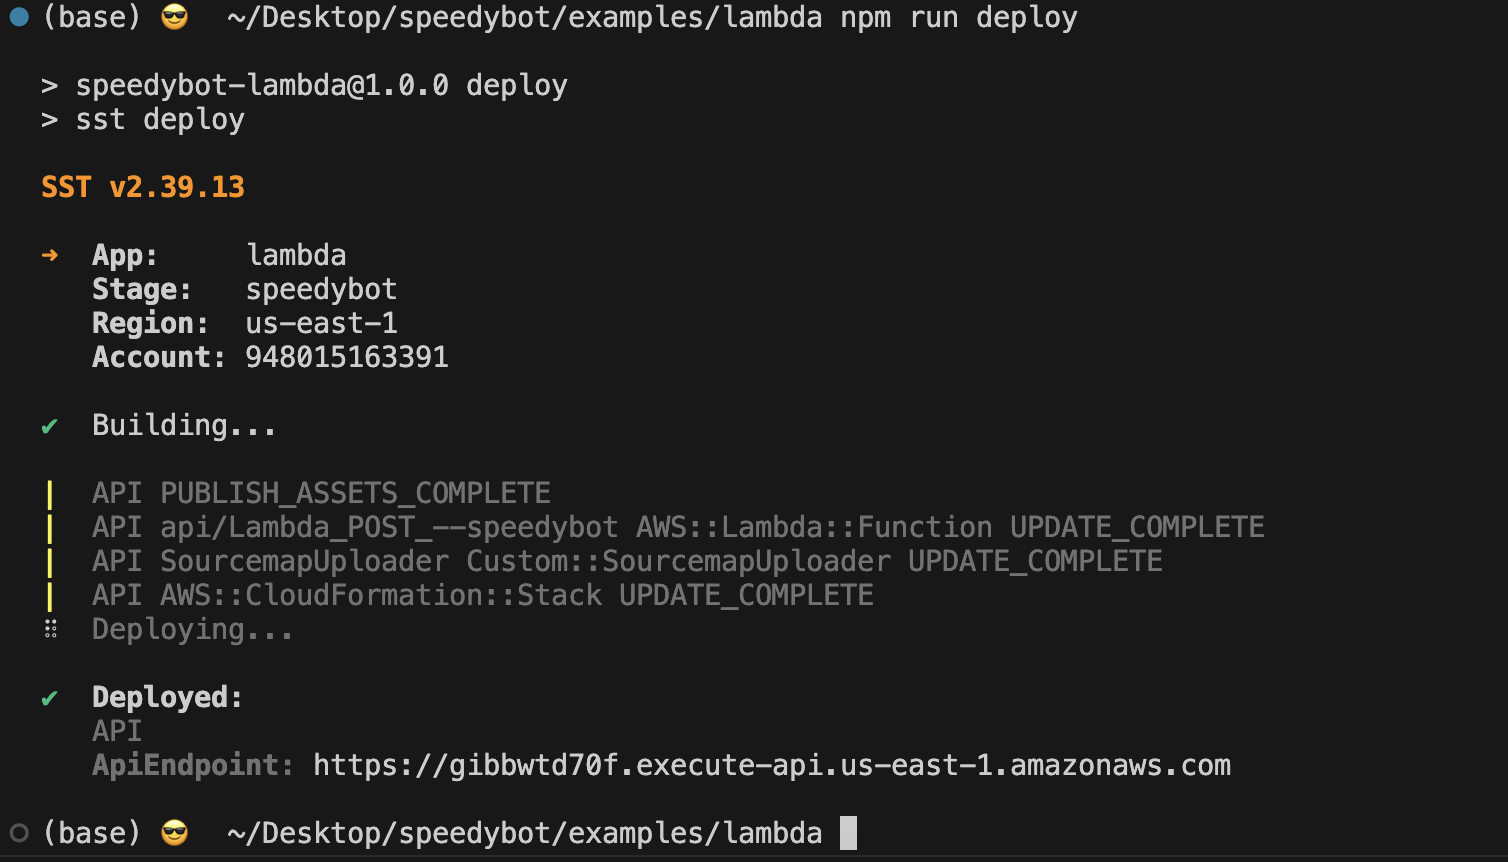
4) Deploy your bot and obtain its public URL
Run this command from the project directory:
npm run deployIf deployment is successful, you should find that your url that looks something like this: https://abcd123456.execute-api.us-east-1.amazonaws.com

5) Register your webhooks
Right now if you try to interact with your "deployed" agent nothing happens, nobody is "home" to answer the knock at the door
Make a note of the URL of the deployed function and append /speedybot on the end , ex https://abcd123456.execute-api.us-east-1.amazonaws.com/speedybot
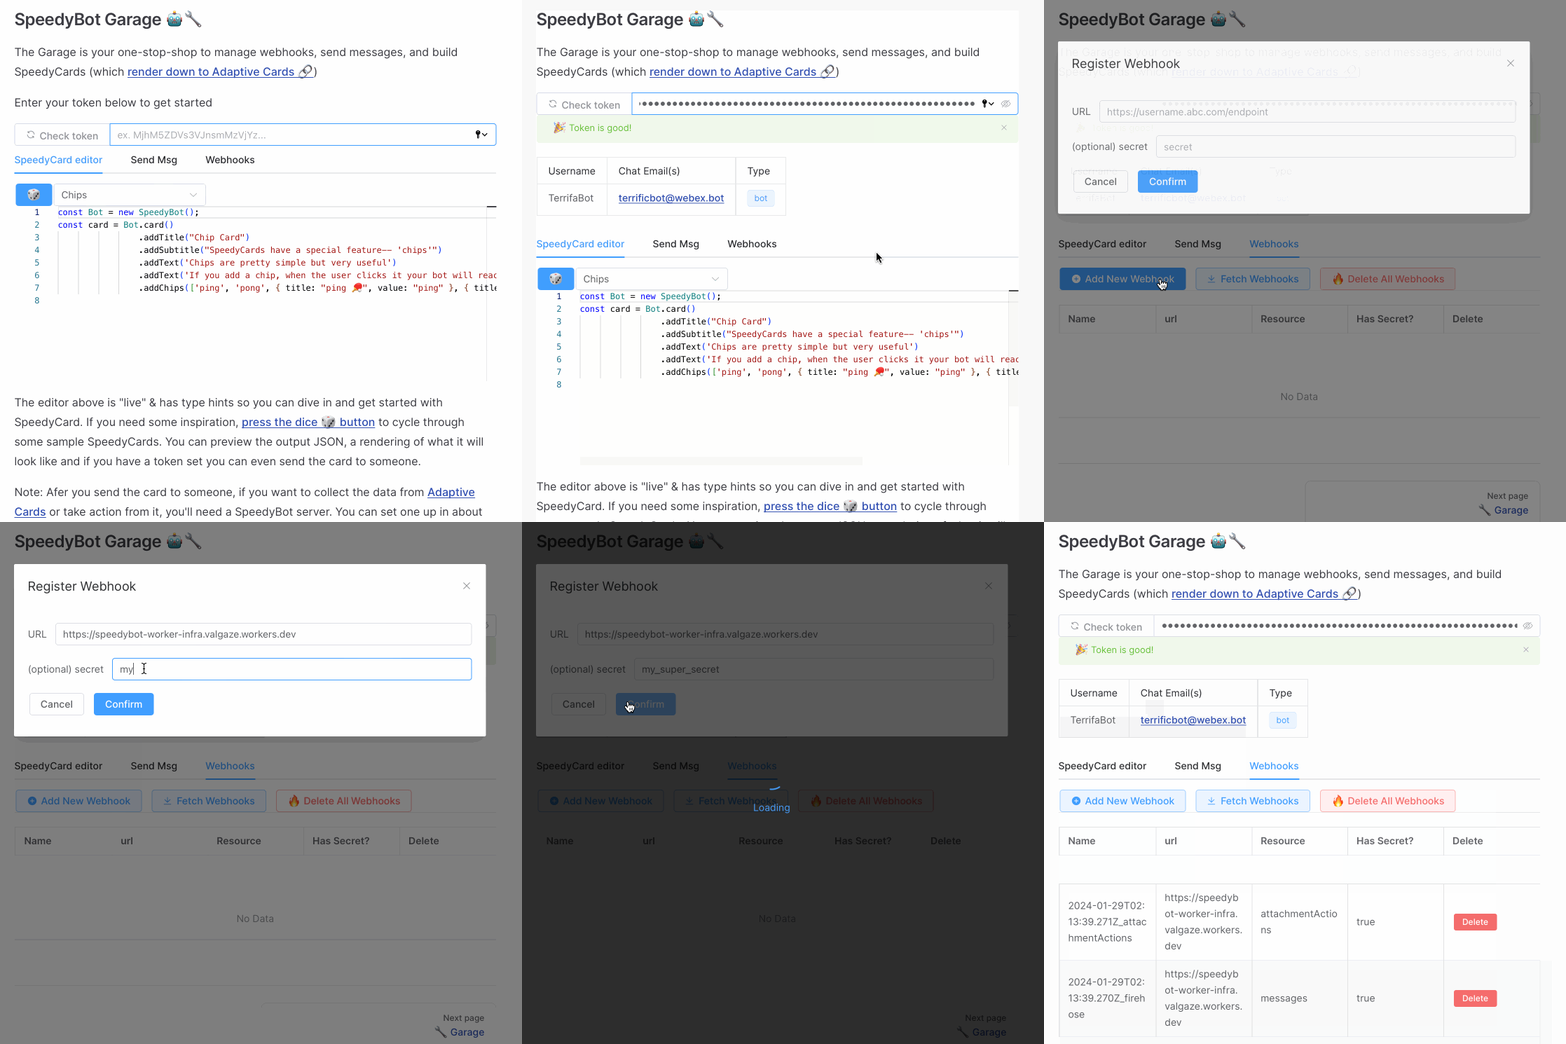
Hop on over to the SpeedyBot Garage (https://speedybot.js.org/garage), enter your access token, select the Webhooks tab, and then Add New Webhook and add your lambdas's URL +
/speedybotand (optionally) a webhook secret

Note: This uses SST but any deployment mechanism/structure you prefer works fine
Note: This SST configuration is setup to capture incoming WebEx requests on the /speedybot route, you can change any/all the behavior in the stack config
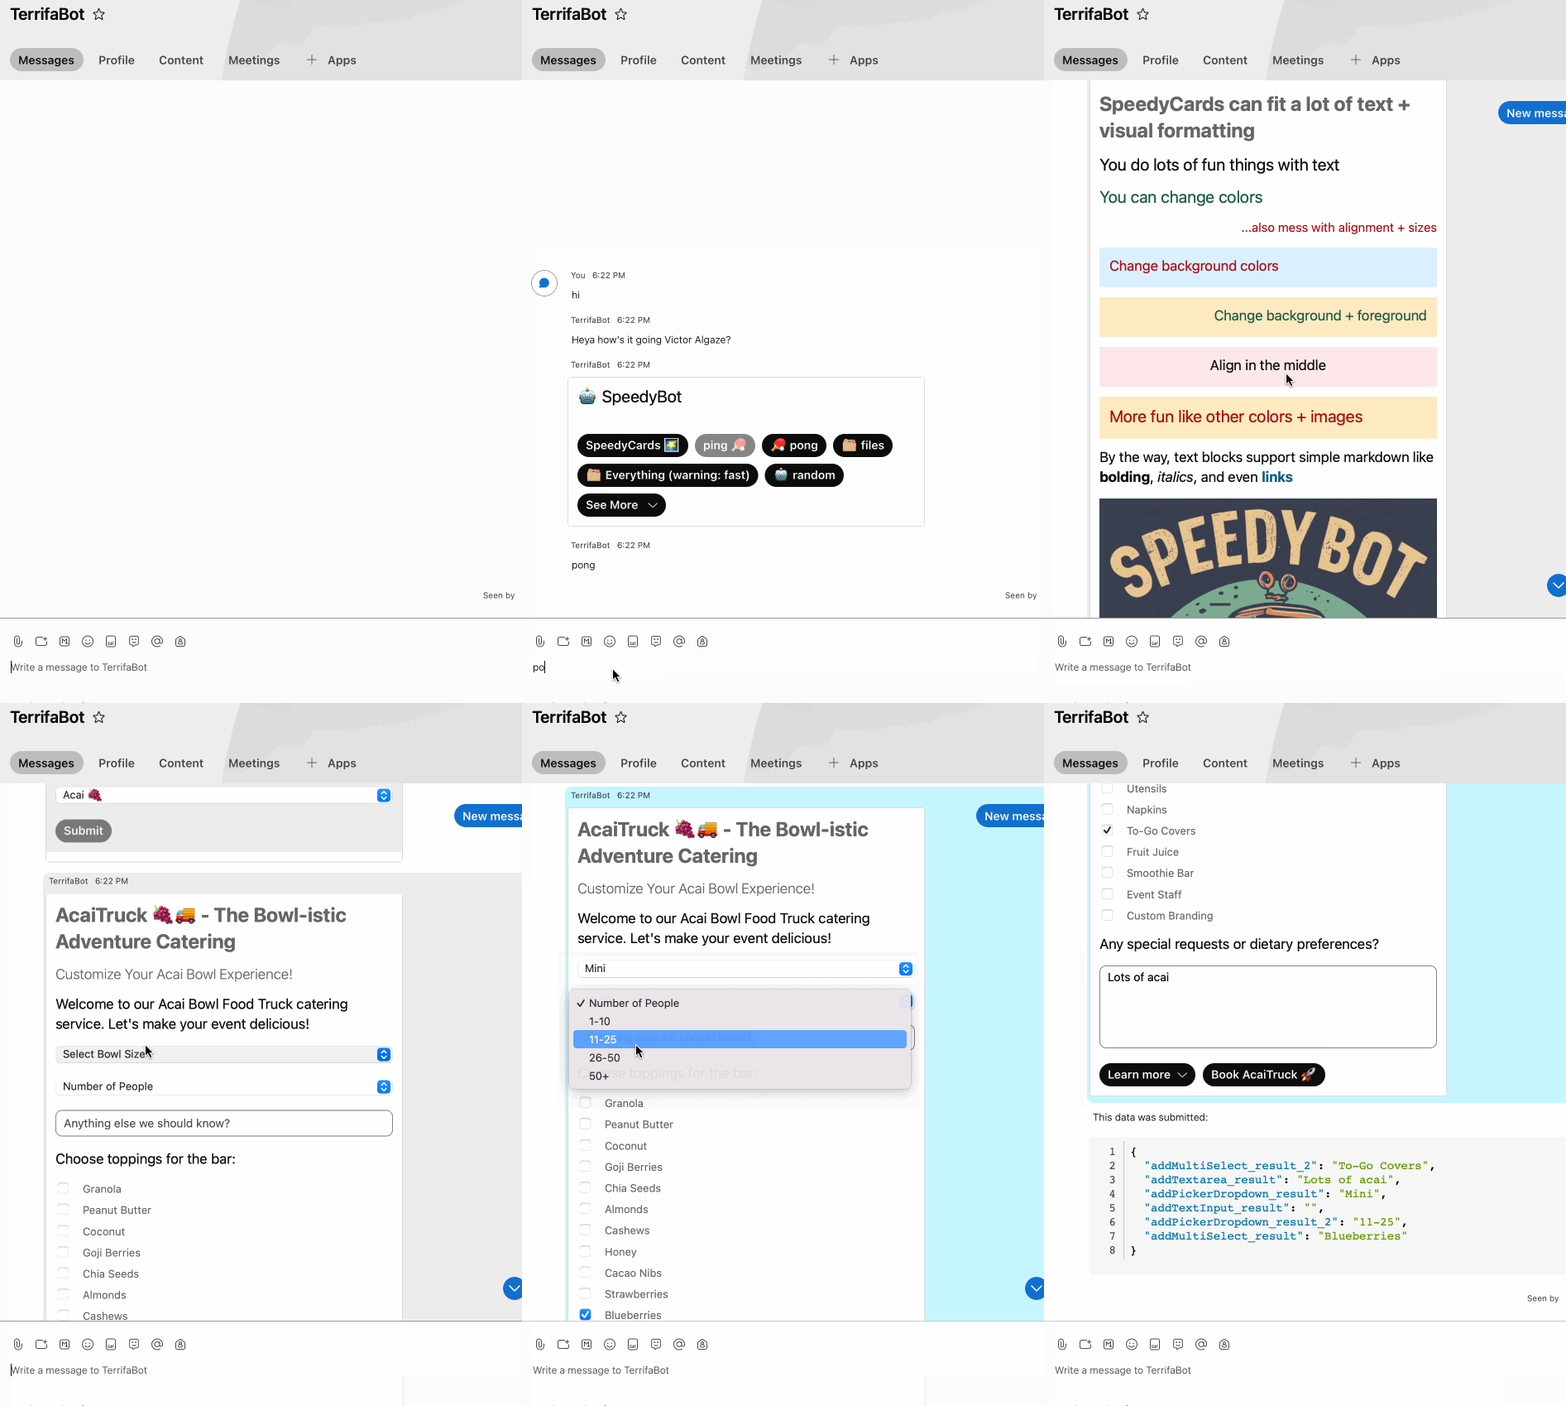
6) Take it for a spin
- After connecting webhooks, take it for a spin

7) Local Dev
SST has a cool feature where you can develop your lambda/bot code locally but reach real AWS services.
Install dependencies in packages/functions/src and run npm install and you can run the following command for live-reload:
npm run dev